Before

After

Before

After


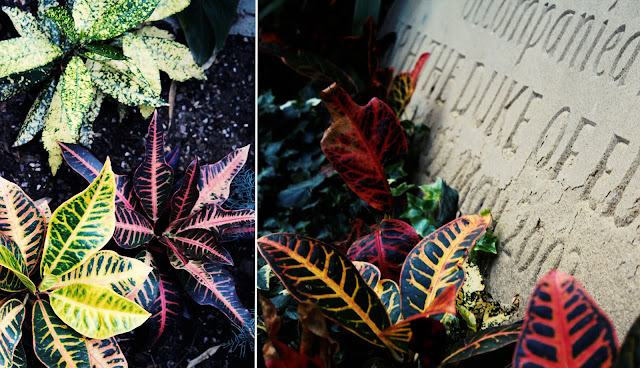
To make this image I first opened it up on Photoshop then edited the brightness to -19 and the contrast to 39. I then played around with the curves and the levels until I got the image like I wanted it. Then I added the second image and moved it around to where I wanted and on top I added a colour lookup, 3DLUT file to filmstock_503dl to get the vintage filer effect. And finally I used the shape tool to add a white line between the two images to separate them apart and finish the image.
To make this image I basically repeated the same steps for edit one and two but changed the brightness and contrast to fit the picture


To make this image I basically repeated the same steps for edit one and two but changed the brightness and contrast to fit the picture
Before

After


I tooK this photograph at a thrift shop called 'cow' in Sheffield. In Photoshop I changed the brightness to -9 and the contrast to 39 then I added colour lookup - abstract - cobalt - carmine to get the pink overlay.


For this image I asked a friend to stand in front of a black
and white graffiti then I took the picture with my canon DSLR. On Photoshop I
edited the hue and saturation four times with different complementary colours.
I tried to combine the modern and old (fashion and graffiti) identity of
Sheffield together using colour.


I took continues shots of a friend walking past some
graffiti, I then opened the last shot on Photoshop and overplayed it with the
second shot, I used the easer tool to remove the background from each picture
to create the end result. I adjusted the brightness and exposure to because
there was too much light in the images. The aim of this shoot was to represent
fashion and graffiti to identify Sheffield, the graffiti said "be
bright" so I chose a smiley face bag in the same colour so match with the
graffiti. I wanted to show that graffiti has more meaning then just art and
words, it can be inspiring. this editing shows movement ( the person walking)
to show that where ever you go in Sheffield there will always be some sort of
inspiration or something that will cheer you up.
Before After

I took this close up of a sticker next to some graffiti, I decided use Photoshop to add words of things that identify people such "emotions" and "talent" in the white area around him.
Before
Before

After

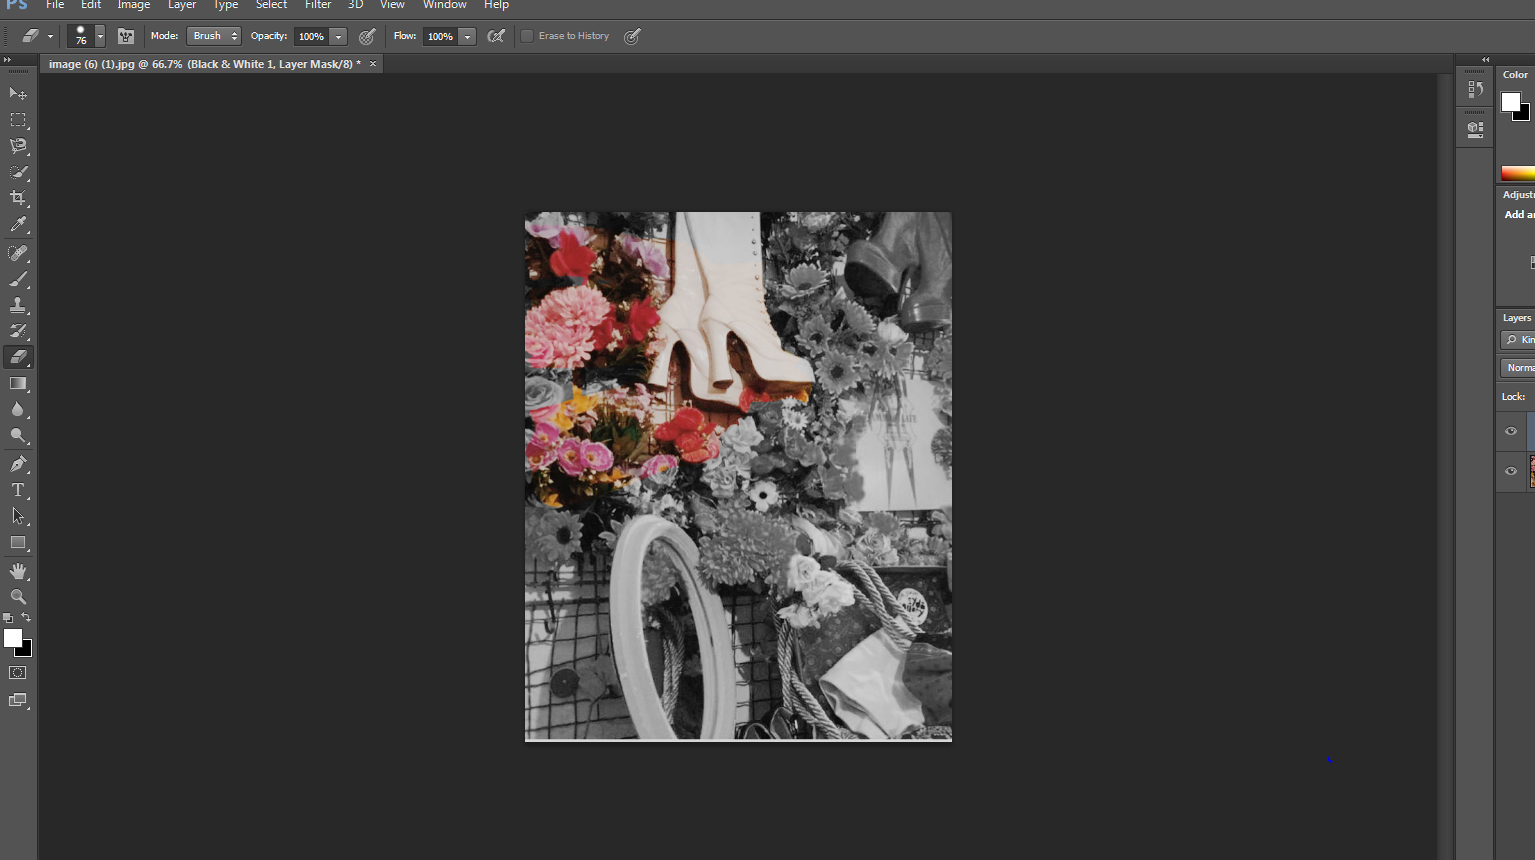
I added a black and white filter than moved properties around to get the right tone. I then used the quick select tool to select around one half of the photo and removed the black and white using the eraser. And that is how I made this edit.

Before


After


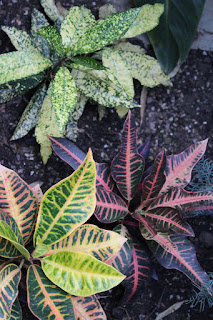
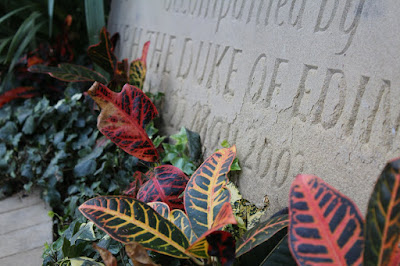
I put both pictures next to each other than added a colour lookup, 3DLUT file - TensionGreen.3DL, Soft_Warming.look, EdgyAmber.3DL and HorrorBlue.3DL. The colours I chose are complementary colours which makes it look more eye-catching and interesting.


No comments:
Post a Comment